
3. Installation
All required tools are available on OSGeoLive.
Important
Before attending a workshop event, make sure your you can use OSGeoLive with either method or Appendix: Installation on your computer.
This workshop uses OSGeoLive on VirtualBox
3.1. OSGeoLive on a VirtualBox
3.1.1. Install VirtualBox.
Complete details about installation can be found on the VirtualBox documentation.
Linux distributions:
Add the following line to your /etc/apt/sources.list. According to your distribution, replace ‘<mydist>’ with your distribution name.
deb https://download.virtualbox.org/virtualbox/debian <mydist> contrib
Add the keys:
wget -q https://www.virtualbox.org/download/oracle_vbox_2016.asc -O- | sudo apt-key add -
wget -q https://www.virtualbox.org/download/oracle_vbox.asc -O- | sudo apt-key add -
Install Virtual box using:
sudo apt-get update
sudo apt-get install virtualbox-6.1
More detailed and up to date information can be found here
3.1.2. Download OSGeoLive 14.0
Note
The images on this section might not correspond to the VirtualBox version you installed. But the workflow is similar.
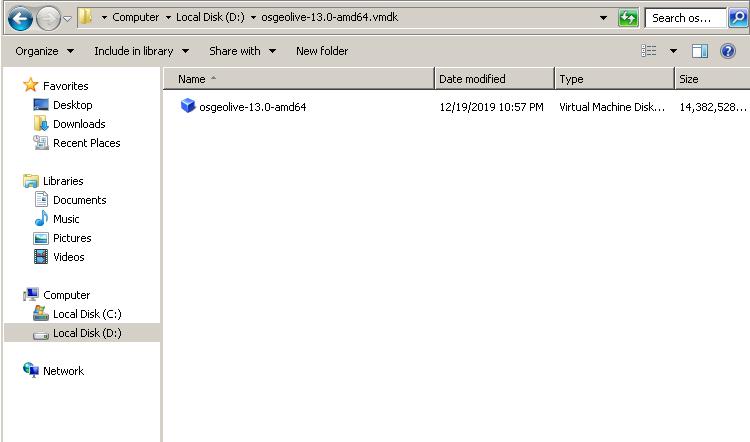
Go to https://sourceforge.net/projects/osgeo-live/files/14.0/ and download osgeolive-14.0-vmdk.7z
Open VirtualBox and click

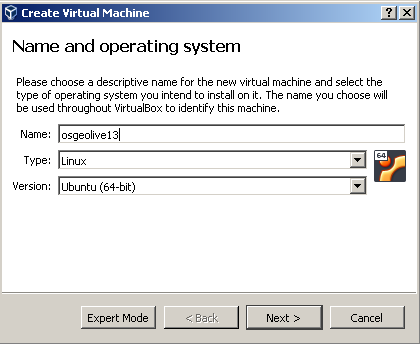
Fill name and operating system
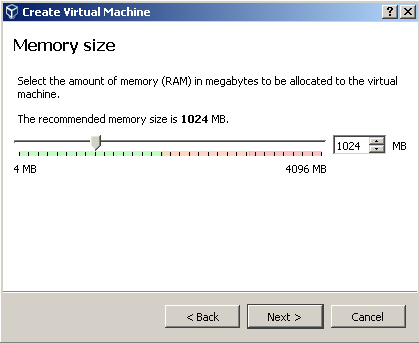
Fill memory size: Use 2048
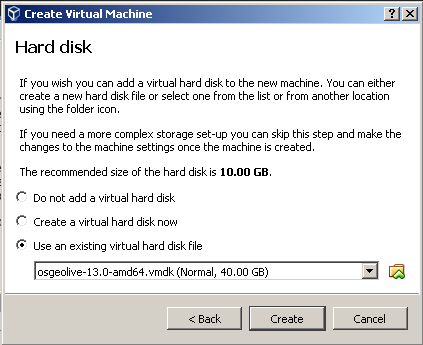
Fill hard disk & create
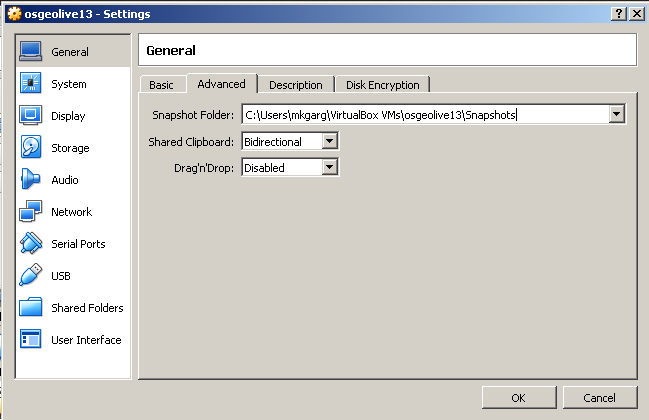
Fill General & Choose bidirectional (to be able o use the clipboard between your computer and the virtual machine.)
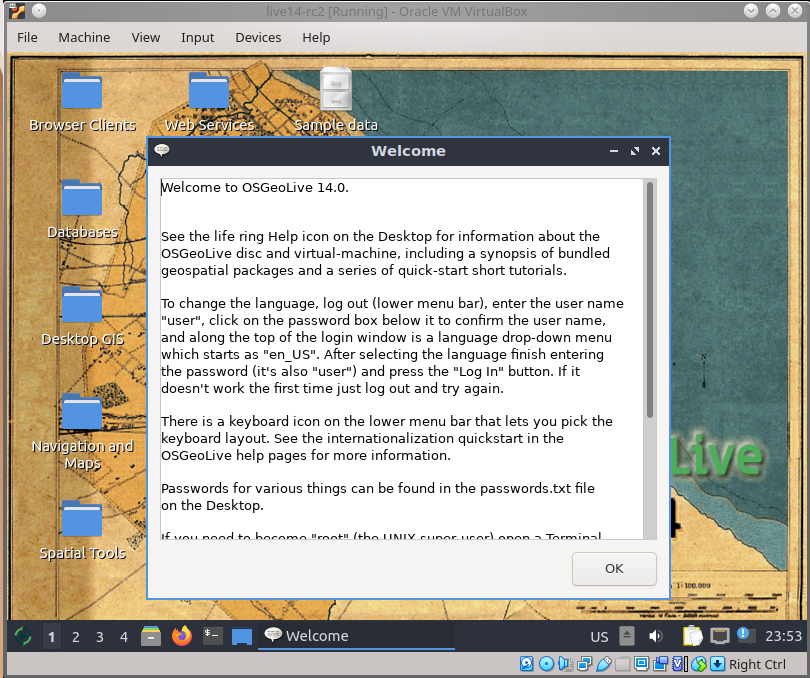
Double-click on OSGeoLive14 & Read Welcome message
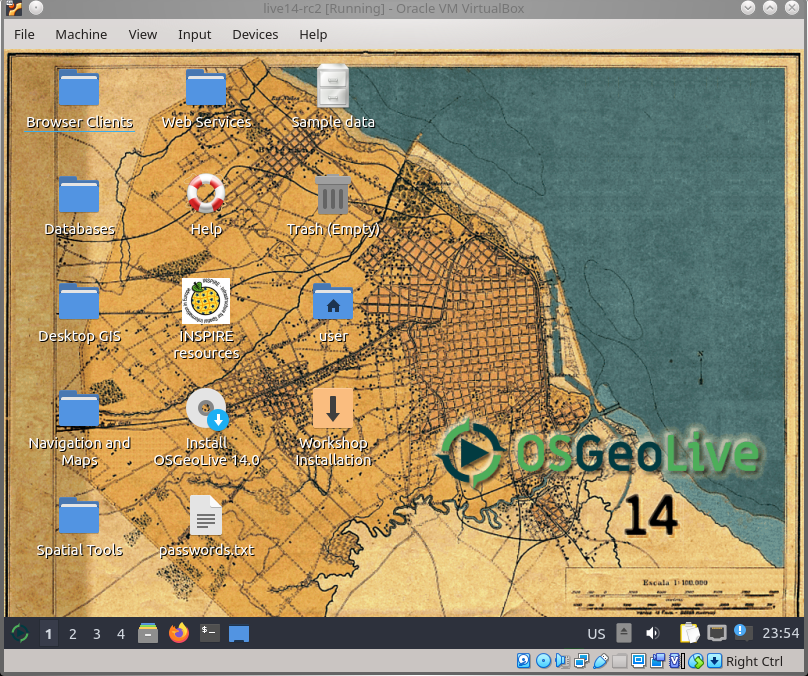
Ready to use
Note
OSGeoLive’s account is user and password is user