Graphs have a set of edges and set of vertices associated to it.
osm2pgrouting provides the ways_vertices_pgr table which is associated with
the ways table.
When a subset of edges is used like in vehicle_net or in small_net,
the set of vertices associated to each one must be used in order to, for example,
locate the nearest vertex to a lat/lon location.
Launch QGIS from and select from the menu bar.
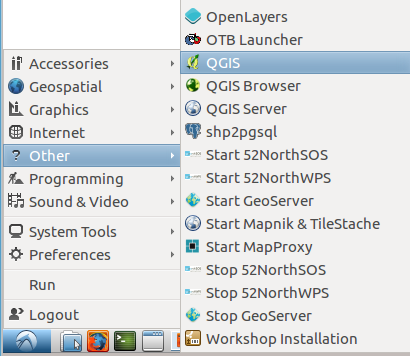
Note
The location of QGIS may vary.
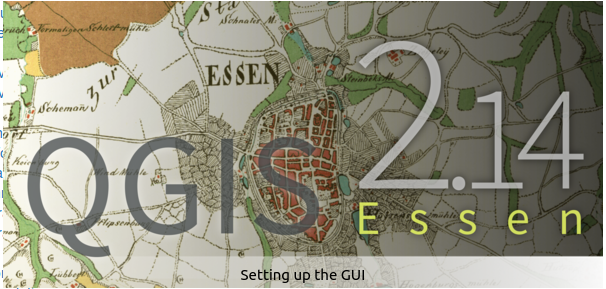
The workshop instructions are based on QGIS 2.14 Essen
Close the broswer pannel

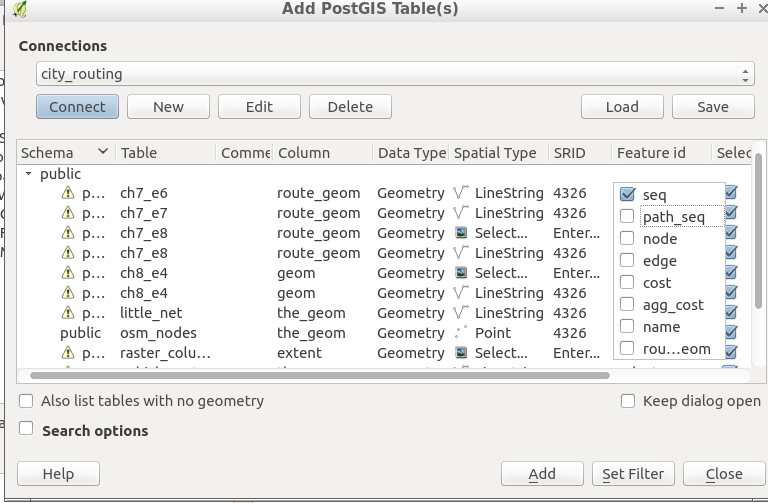
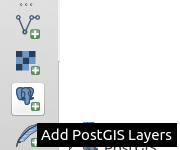
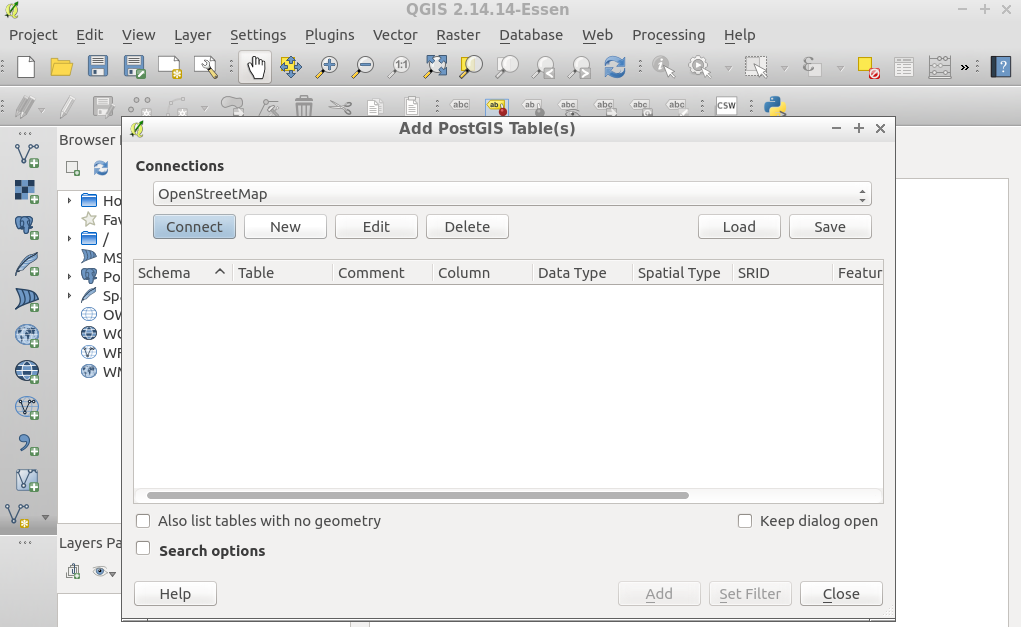
Connect to a posgGIS enabeled potsgreSQL database clicking on
Create a new connection clicking on
Fill the information and test the connection
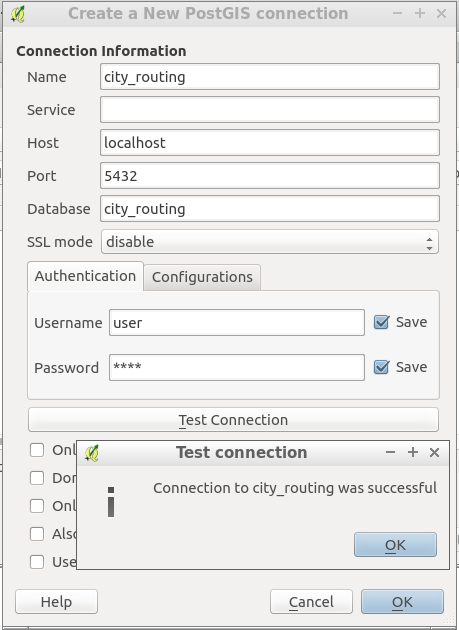
Name city_routing
Host localhost
Port 5432
Database city_routing
User name user
Password user
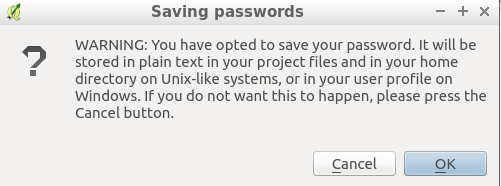
Allow qgis to remember login and password
Click and a list of tables and views from the database will show.
It is necessaary to select the column that has a distinct unique value:
seq on the routing viewsgid on the data views