4. Create a Network Topology
osm2pgrouting is a convenient tool, but it’s also a black box. There are several cases where osm2pgrouting can’t be used. Obviously if the data isn’t OpenStreetMap data. Some network data already comes with a network topology that can be used with pgRouting out-of-the-box. Often network data is stored in Shape file format (.shp) and we can use PostGIS’ shape2postgresql converter to import the data into a PostgreSQL database. But what to do then?
In this chapter you will learn how to create a network topology from scratch. For that we will start with data that contains the minimum attributes needed for routing and show how to proceed step-by-step to build routable data for pgRouting.
4.1. Load network data
At first we will load a database dump from the workshop data directory. This directory contains a compressed file with database dumps as well as a small size network data. If you haven’t uncompressed the data yet, extract the file by
cd ~/Desktop/pgrouting-workshop/
tar -xvzf data.tar.gz
The following command will import the database dump. It will add PostGIS and pgRouting functions to a database, in the same way as decribed in the previous chapter. It will also load the sample data with a minimum number of attributes, which you will usually find in any network data:
# Optional: Drop database
dropdb -U user pgrouting-workshop

# Load database dump file
psql -U user -d postgres -f ~/Desktop/pgrouting-workshop/data/sampledata_notopo.sql
Let’s see wich tables have been created:
Run: psql -U user -d pgrouting-workshop -c "\d"
               List of relations
 Schema |       Name        | Type  |  Owner
--------+-------------------+-------+----------
 public | geography_columns | view  | user
 public | geometry_columns  | view  | user
 public | raster_columns    | view  | user
 public | raster_overviews  | view  | user
 public | spatial_ref_sys   | table | user
 public | ways              | table | user
(7 rows)
The table containing the road network data has the name ways. It consists of the following attributes:
Run: psql -U user -d pgrouting-workshop -c "\d ways"
               Table "public.ways"
  Column  |           Type            | Modifiers
----------+---------------------------+-----------
 gid      | bigint                    |
 class_id | integer                   | not null
 length   | double precision          |
 name     | character(200)            |
 osm_id   | bigint                    |
 the_geom | geometry(LineString,4326) |
Indexes:
    "ways_gid_idx" UNIQUE, btree (gid)
    "geom_idx" gist (the_geom)
It is common that road network data provides at least the following information:
- Road link ID (gid)
- Road class (class_id)
- Road link length (length)
- Road name (name)
- Road geometry (the_geom)
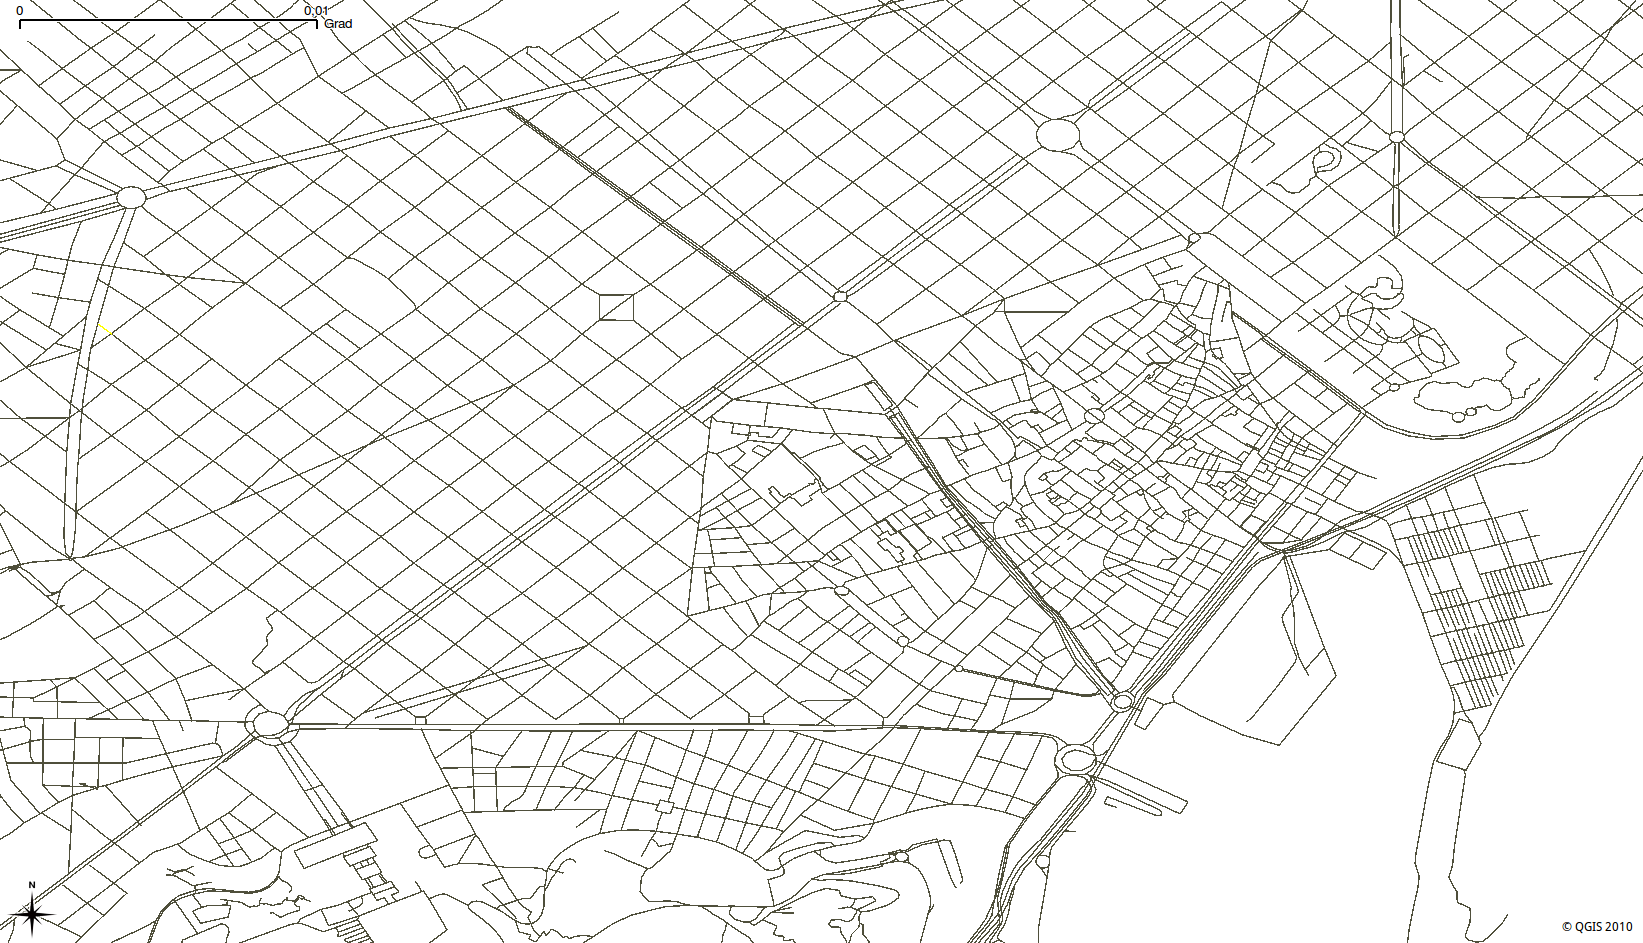
This allows to display the road network as a PostGIS layer in GIS software, for example in QGIS. Though it is not sufficient for routing, because it doesn’t contain network topology information.
For the next steps we need to start the PostgreSQL command line tool
psql -U user pgrouting-workshop
... or use PgAdmin III.
4.2. Calculate topology
Having your data imported into a PostgreSQL database usually requires one more step for pgRouting. You have to make sure that your data provides a correct network topology, which consists of information about source and target ID of each road link.
If your network data doesn’t have such network topology information already you need to run the pgr_createTopology function. This function assigns a source and a target ID to each link and it can “snap” nearby vertices within a certain tolerance.
pgr_createTopology('<table>', float tolerance, '<geometry column', '<gid>')
First we have to add source and target column, then we run the pgr_createTopology function ... and wait. Depending on the network size this process may take from minutes to hours. It will also require enough memory (RAM or SWAP partition) to store temporary data.
-- Add "source" and "target" column
ALTER TABLE ways ADD COLUMN "source" integer;
ALTER TABLE ways ADD COLUMN "target" integer;

-- Run topology function
SELECT pgr_createTopology('ways', 0.00001, 'the_geom', 'gid');
Note
Execute psql -U user -d pgrouting-workshop in your terminal to connect to the database and start the PostgreSQL shell. Leave the shell with \q command.
Warning
The dimension of the tolerance parameter depends on your data projection. Usually it’s either “degrees” or “meters”.
4.3. Add indices
Make sure that your network table has an index for source and target columns.
CREATE INDEX ways_source_idx ON ways("source");
CREATE INDEX ways_target_idx ON ways("target");
After these steps our routing database looks like this:
Run: \d
                 List of relations
 Schema |           Name           |   Type   |  Owner
--------+--------------------------+----------+----------
 public | geography_columns        | view     | user
 public | geometry_columns         | view     | user
 public | raster_columns           | view     | user
 public | raster_overviews         | view     | user
 public | spatial_ref_sys          | table    | user
 public | ways_vertices_pgr        | table    | user
 public | ways_vertices_pgr_id_seq | sequence | user
 public | ways                     | table    | user
(9 rows)
- geography_columns should contain a record for each table with “geometry” attribute and its SRID.
- ways_vertices_pgr contains a list of all network nodes.
Run: \d ways
               Table "public.ways"
  Column  |           Type            | Modifiers
----------+---------------------------+-----------
 gid      | integer                   |
 class_id | integer                   | not null
 length   | double precision          |
 name     | text                      |
 osm_id   | bigint                    |
 the_geom | geometry(LineString,4326) |
 source   | integer                   |
 target   | integer                   |
Indexes:
    "ways_gid_idx" UNIQUE, btree (gid)
    "geom_idx" gist (the_geom)
    "ways_source_idx" btree (source)
    "ways_target_idx" btree (target)
- source and target columns are now updated with node IDs.
- name may contain the street name or be empty.
- length is the road link length in kilometers.
Now we are ready for our first routing query with Dijkstra algorithm!

Table Of Contents
Previous topic
3. Installation and Requirements
Next topic
License
This work is licensed under a Creative Commons Attribution-Share Alike 3.0 License.
